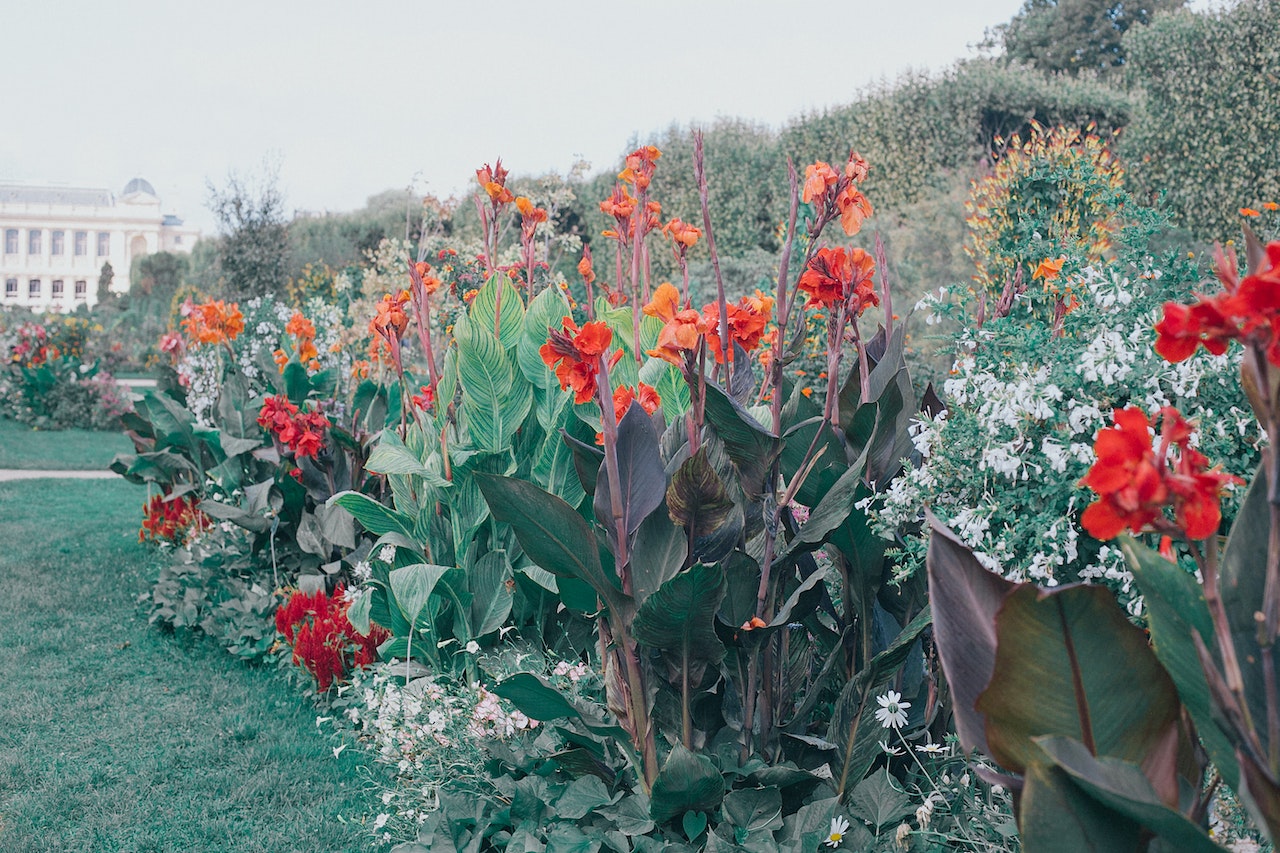
For some reason, I can’t recall ever seeing a Canna Lilly until about three years ago. I’m absolutely sure I had, but like so many other things in the world, I didn’t notice it when I wasn’t looking.
Before I got into gardening, plants were generally just plants. They sort of blurred into each other as they made up whatever background they inhabited. Suddenly, I started noticing them in all their infinite differences.
This is not the first time that something like this has happened to my brain. For about five years I ran a Letterpress print shop with my wife in Chicago, and when I started, I hardly noticed or cared too much about fonts and spacing and so forth. That experience has now left me with the unfortunate curse of noticing bad spacing in various signs up and down Woodward Avenue and an irrational hatred of poor graphic design choices.
So the first time that I really saw a Canna I was floored. I was on a neighborhood walk with my daughter checking out everyone’s landscaping choices – so that I could get ideas for my developing garden – and was taken by these giant tropical plant statues in front of a house. I honestly had no idea that something that looked like it belonged in a jungle could grow in southeast Michigan. I quickly turned to my trusty plant identification app and soon had a name to go along with this fascinating creature. After some online research I learned that, being a tropical plant, they were not suited to be left out over our harsh winters. So, many people utilized them as annuals. There was another option though; “lifting” the bulb and overwintering them. This struck me as quite a bit of work, and somewhat like alchemy. But I decided that it was the route I was going to go.
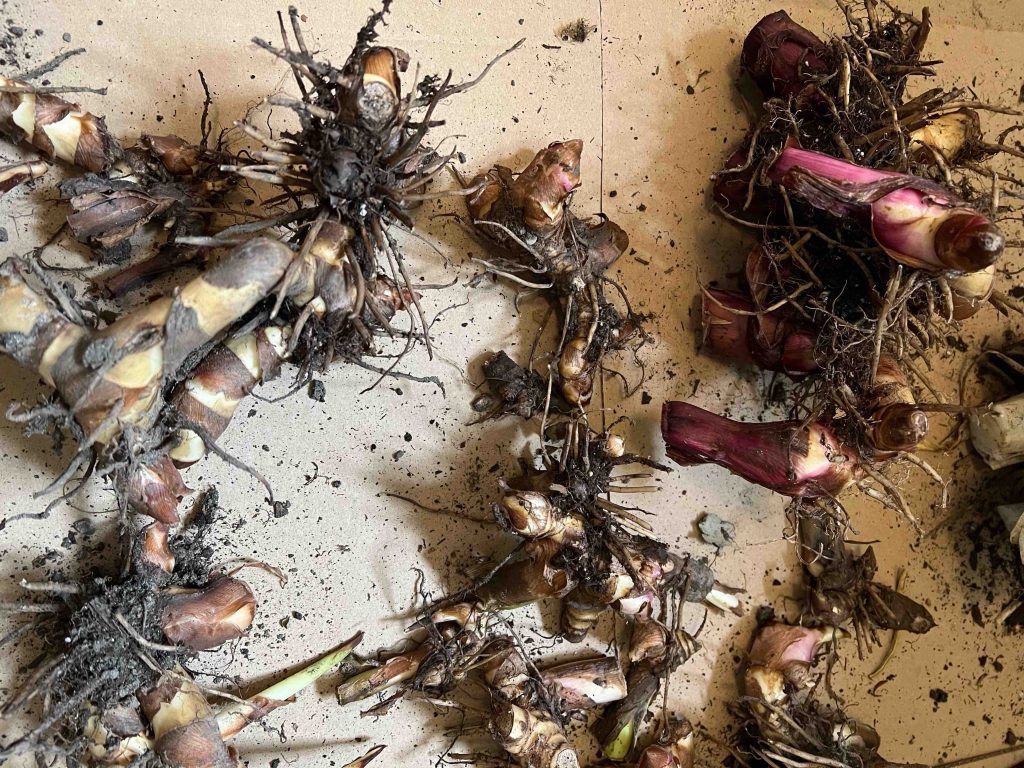
Canna Lilly Bulbs | photo Jamiel Dado
“I feel that it is very important to remember when working with plants that they are not puppies”
At this point, I have watched a mind-numbing amount of YouTube videos and read innumerable blogs on the art of overwintering bulbs, tubers, and corms that while I now know the difference between a bulb, a tuber, and a corm, I am no clearer on the correct process of pulling them up and storing them, so as to have it all repeat again the following year.
I am in fact not going to pretend to know the absolute perfect method to accomplish this task; not only because I do not believe in perfection but there seems to be so many different opinions on the subject that I don’t think I can, in all good faith, claim to know the best. What I would like to stress, is that you should most definitely attempt the process and hope for a successful outcome. I feel that it is very important to remember when working with plants that they are not puppies. It is quite okay if you do something horribly wrong and your plant dies – unlike a puppy. That said, I will share the process that afforded me the opportunity to have my Canna lilies come back for another season (and, hopefully for many more).
Having sifted through all the instructional material I could find, I decided to approach it as I would when preparing a new recipe. I look for the overlapping ingredients and go from there. Everyone seemed to agree that to begin you have to dig up the plant right after the first frost killed off all the foliage; meaning, the first fall morning you wake up and notice frost on your lawn and all your flowers looking sad and droopy, it’s time for action.
At this point it helps to cut down the stalk of the plant to about four inches above the soil. Don’t feel the need to bring out your tape measure for this – it’s not like making a deck – just a roundabout approximation.
It is important to take great care when digging up the bulb that you don’t cut it with whatever implement you decide to use. I like using my trusty little utility shovel that I have used to design most of my garden. I feel it offers more control than a full-size shovel and would be my first choice as a weapon/useful tool in a zombie apocalypse. When in doubt, dig farther away from the stalk of the plant then you first think you should. I like to loosen soil completely around the plant before I go deep under it and start lifting it out.
At this point I gently remove as much soil around the bulb as I can and trim the roots down. The stalk can be shortened to a couple of inches as well. Take your time cleaning and trimming so that you don’t cut or break the bulb. If you do, all hope is not lost (only some). I also like to give them a gentle rinse with the hose to clean them off as much as possible.
Now, comes the curing – and, don’t worry, it’s just a fancy term for “drying them out”.
I have very limited space where I can do anything, so my curing spot is on the floor of our den/art room/music studio where I am currently writing this. My various tubers, bulbs, and corms are lounging about behind me on some cardboard on the floor. I leave mine this way for about a week, during which time I endlessly check on them and worry that I’m doing it all wrong and flipping them so that they evenly dry or cure, or whatever you want to call it. At the end of this process you should be able to get a little more dirt off them and trim off any leftover roots.
After the final brush-off and trim I like to coat them in a little sulfur. This step was only in one of the instructional videos but for some reason I decided that it was something I was going to do. If you don’t feel like purchasing horticultural sulfur then feel free to skip this step. It worked for me last year so I’m going to stick with it. Instead of brushing it on like the video instructed, I do a little shake and bake action by putting the sulfur in a plastic bag; then place the bulb in and shake it around a bit. As I’m writing this, I am noticing that some of my bulbs are rather large this year so I might brush it on. Use your best judgment.
Perhaps, the biggest divergence of opinion on this topic came with what medium to store them in. Everything from peat moss, vermiculite, and even pet store cedar chips for hamster cages were utilized. I just like using paper.
Last year I wrapped up mine individually in newspaper and put them in a brown paper shopping bag and put it in my basement on a shelf against the wall. That seemed to keep them at around 55 degrees. I have read that anything from 40 to 60 degrees is fine, but spend five minutes on the internet and you will see numbers all over the place. I wouldn’t worry too much about the exact temperature, just find the closest fit with what you have going on. Make sure to check on them every month throughout the winter and throw out any that get moldy and/or squishy.
When February rolls around I like to pot them up and give them a head start under some grow lights, but you can also just wait until after the last frost and plant them up outside. My neighbor does that and his grow beautifully.
It is important to keep in mind that not all of your bulbs will overwinter successfully. If they do, then you are one of those special people who just seem to have things work out flawlessly and you don’t need my encouragement anyway. However, if you are like the rest of us, please don’t be discouraged if they don’t all work out. In fact, if even one makes it through the winter, you can feel good about what you’ve accomplished. And, if none of them work you should try again next year. After all, they’re not puppies.
Jamiel Dado is passionate about plants and wants to spread his love of gardening to anyone who will listen
feature photo | maria orlova